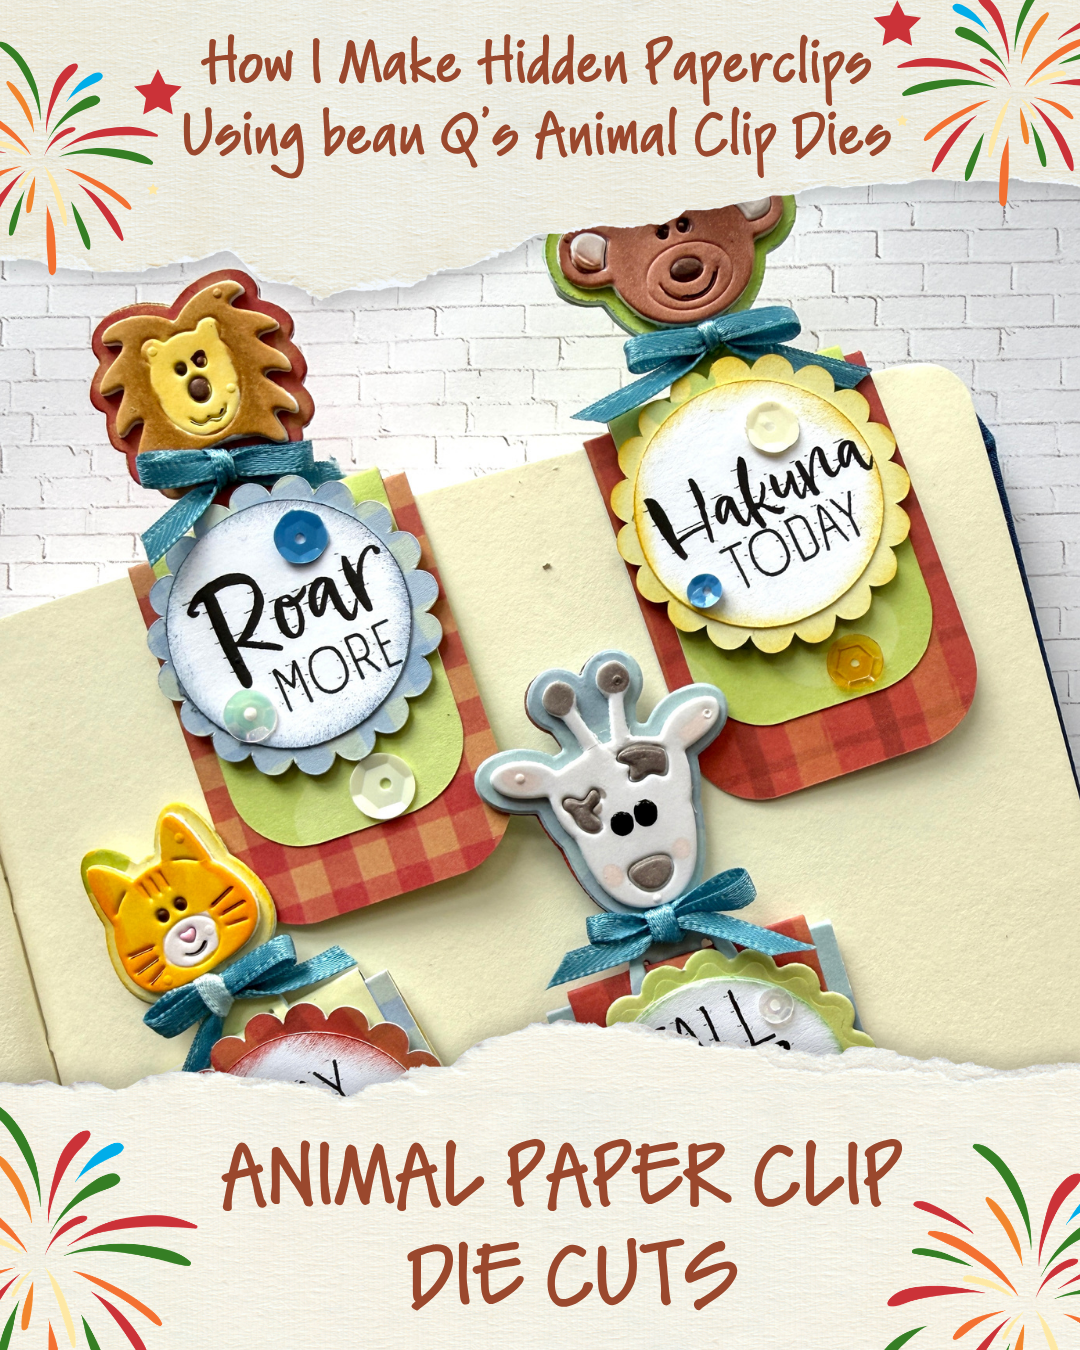
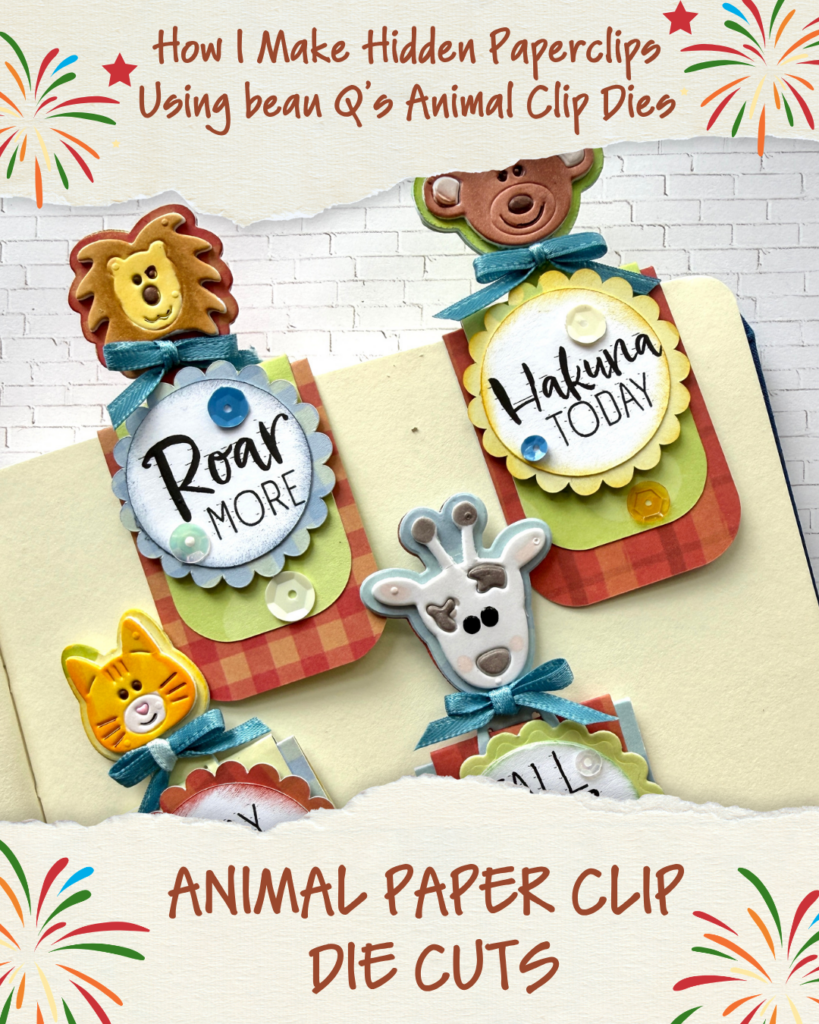
Looking for a fun and easy paper crafting project? These adorable hidden paperclip bookmarks are perfect for journals, planners, books, and gifts! Using beau Q Creations’ Animal Clip Dies, you can create sturdy, decorative paperclips that are both practical and cute. Follow the simple steps below to make your own. Read all the way through to download your own set of printable sentiments that perfectly match the fun vibe of these die clips.
Supplies You’ll Need:
- beau Q’s Animal Clip Dies (Purchase here)
- Patterned cardstock (two coordinating patterns)
- White cardstock
- Adhesive foam
- Metal paperclips
- Die cutting machine
- OLO Markers (or your favorite alcohol markers)
- Liquid glue or strong craft adhesive
- Corner rounder (optional)
- Embellishments such as sequins, ribbon, or googly eyes
- Sentiment die cuts or stamped greetings
Step 1: Prepare Your Paper
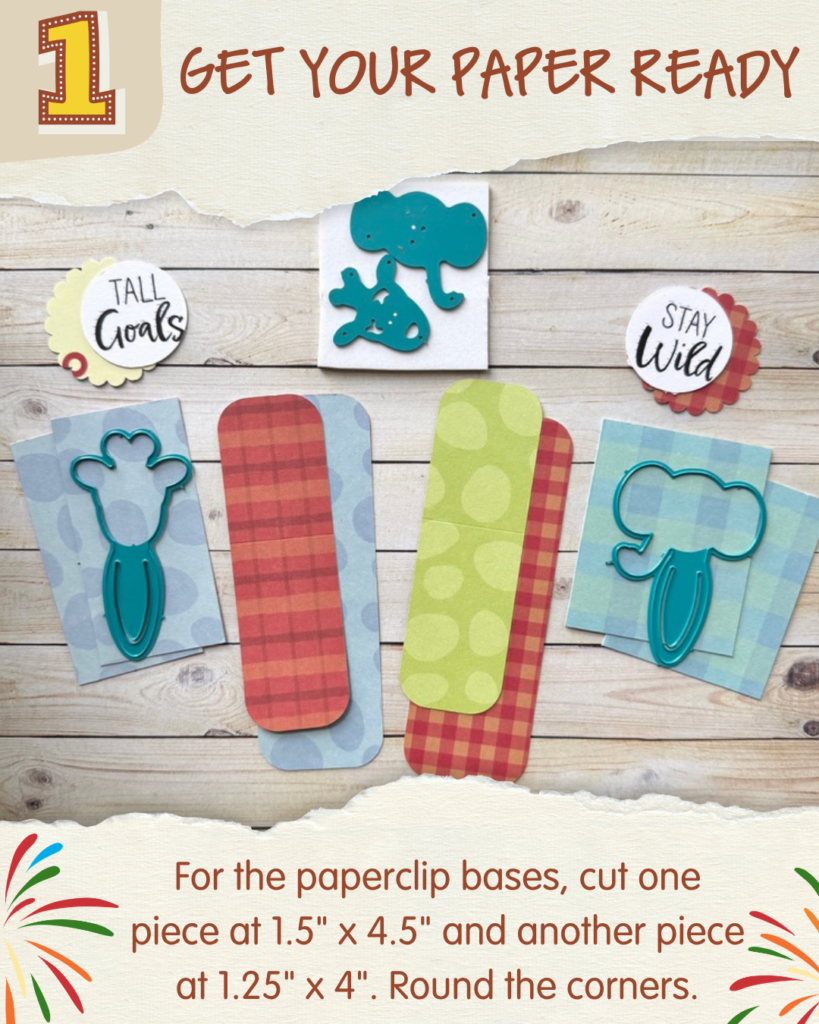
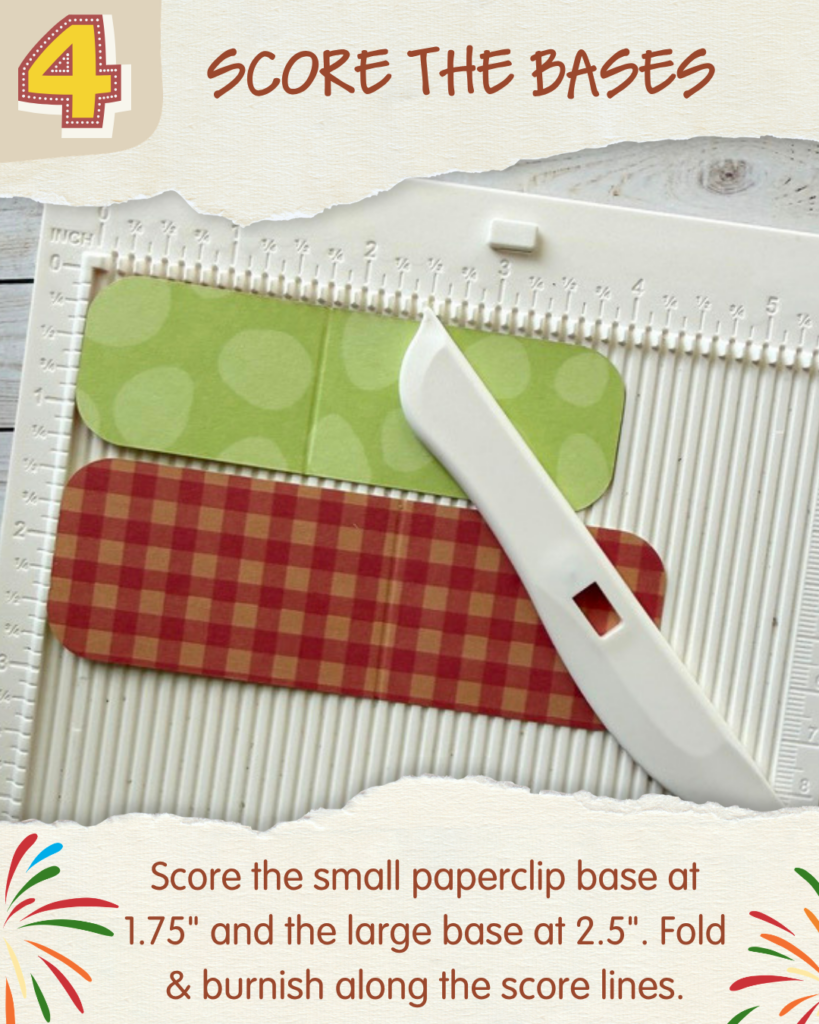
Begin by cutting the paper for the hidden paperclip base.
You’ll need:
- One piece measuring 1.5″ × 4.5″
- One piece measuring 1.25″ × 4″
Round the corners of both pieces for a polished finish.
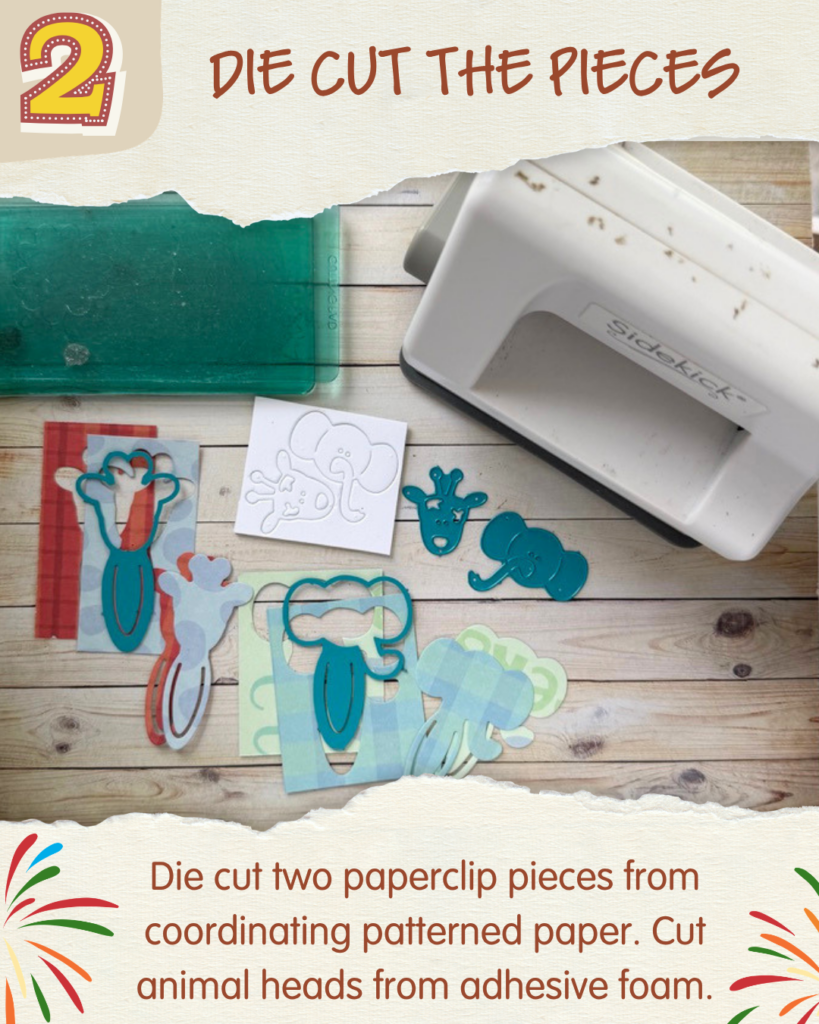
Step 2: Die Cut Your Pieces
Using the Animal Clip Dies:
- Die cut two animal paperclip pieces from coordinating patterned cardstock.
- Die cut the animal heads from adhesive foam.
Having two paperclip pieces allows you to create a finished front and back.
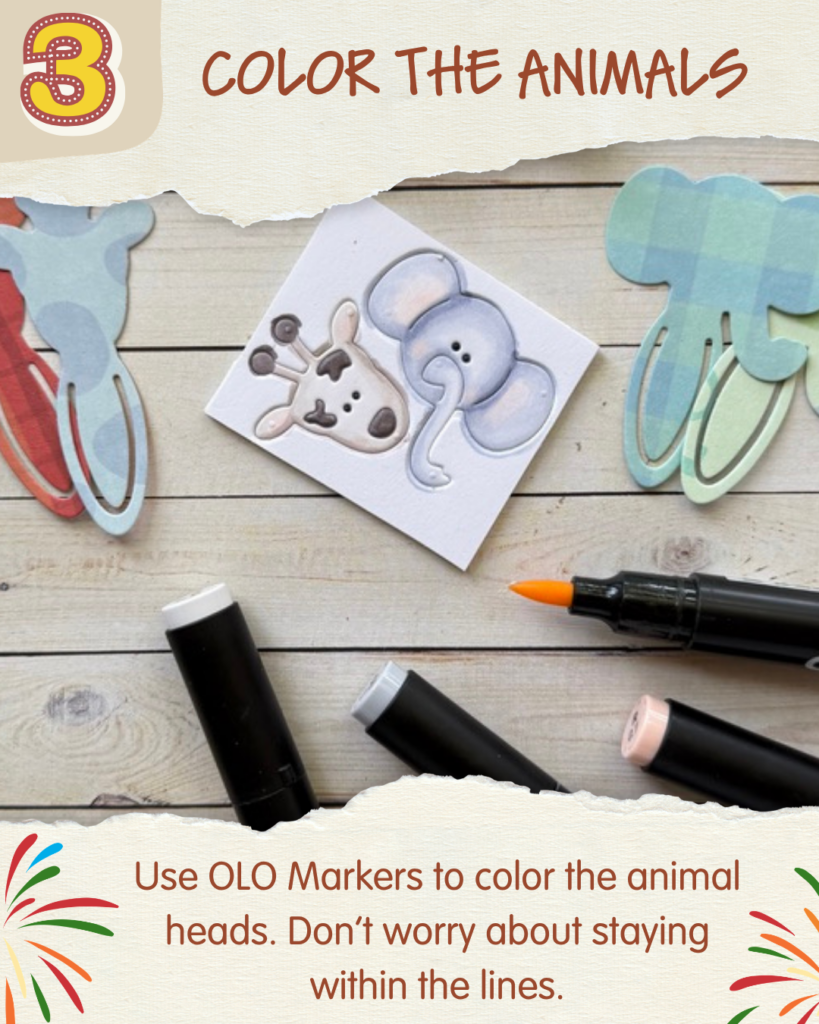
Step 3: Color the Animal Heads
olor the foam animal heads using OLO Markers or your favorite alcohol markers.
Don’t worry about coloring perfectly inside the lines—the layered design will hide the edges while adding beautiful dimension.
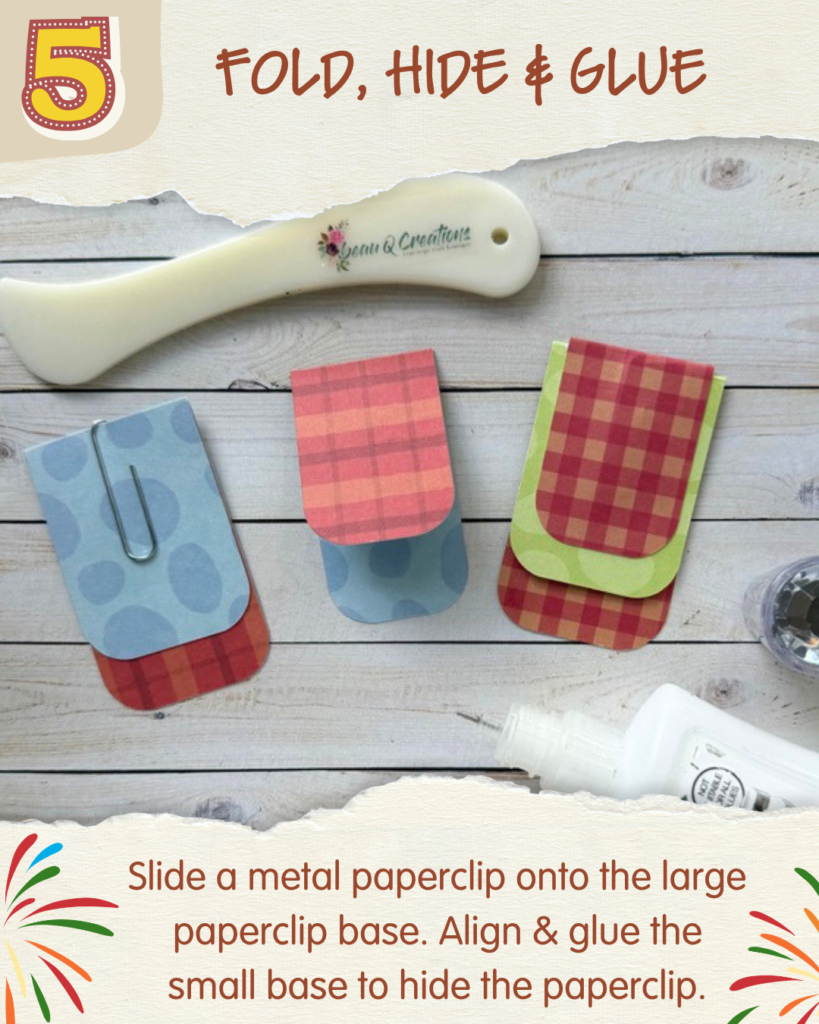
Step 4: Hide the Paperclip
Create the hidden paperclip base.
- Slide a metal paperclip onto the larger cardstock base.
- Position the smaller cardstock layer over the paperclip.
- Glue the smaller piece in place, completely enclosing the paperclip between the two layers.
This creates the hidden paperclip mechanism while keeping everything neat and secure.
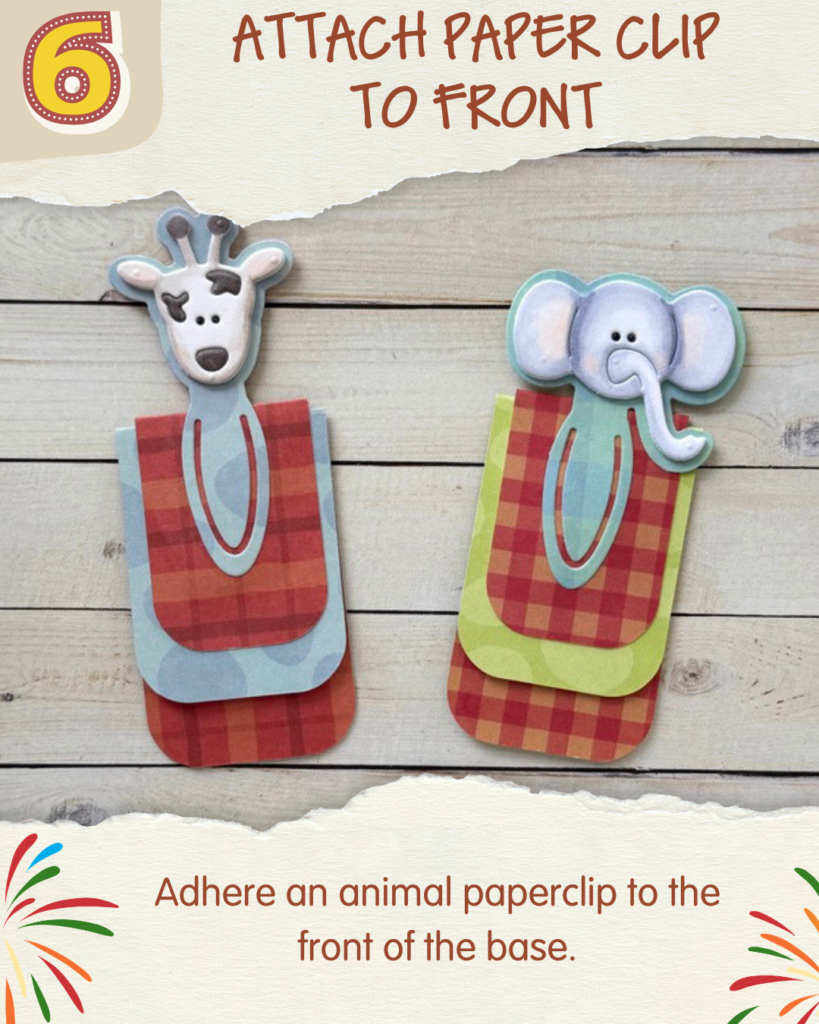
Step 5: Attach the Front Animal Piece
Adhere one die-cut animal paperclip to the front of the bookmark base, lining it up so the animal extends above the top edge.
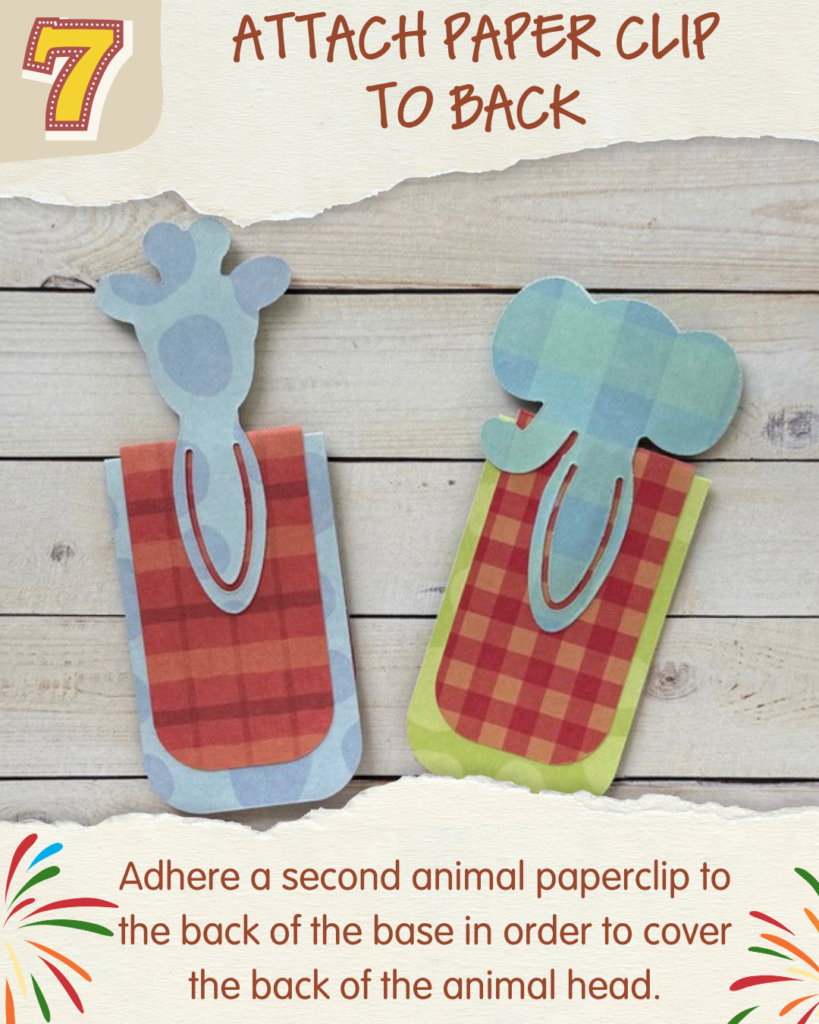
Step 6: Finish the Back
Attach the second animal die cut to the back of the bookmark. This covers the back of the animal head and gives the project a clean, professional finish.
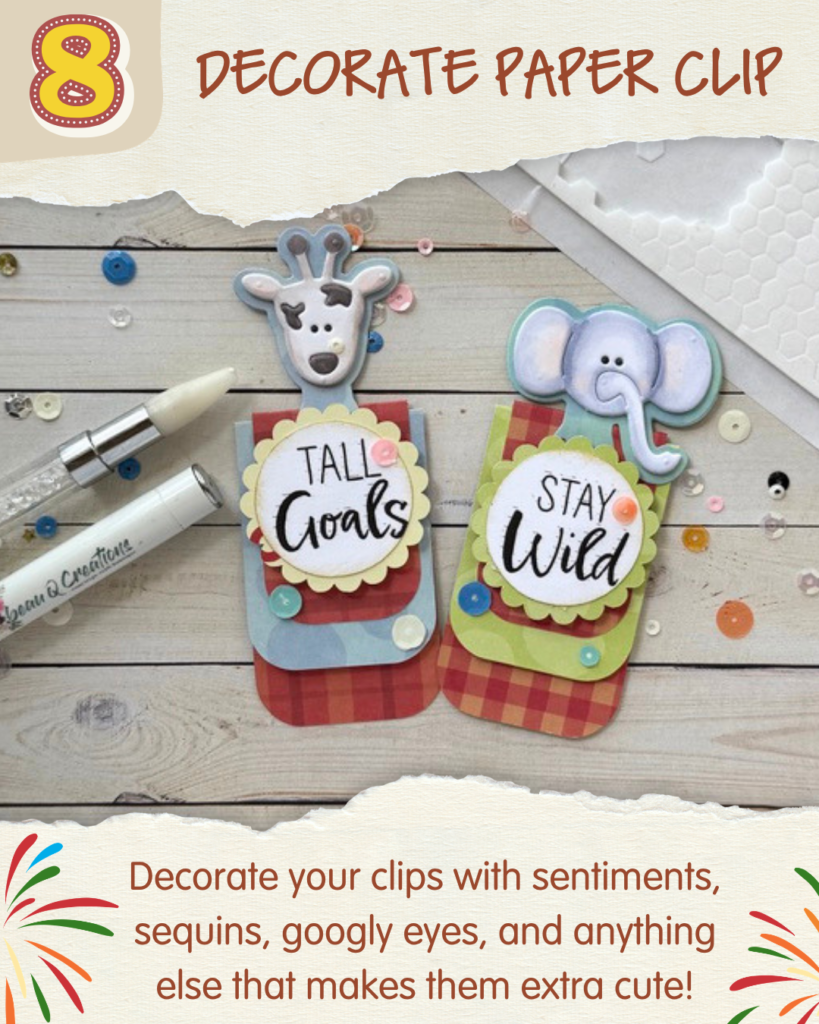
Step 7: Decorate Your Paperclip
Now it’s time to personalize your project!
Add:
- Sentiment circles or labels
- Sequins
- Googly eyes
- Small bows or ribbon
- Any additional embellishments that match your style
Layering embellishments adds texture and makes every bookmark unique.
Finished Project
Your hidden animal paperclip is complete! These adorable clips are perfect for:
- Holding your place in a favorite book
- Decorating planners and journals
- Organizing paperwork
- Teacher gifts
- Party favors
- Handmade gifts for friends and family
With different animal dies, patterned papers, and sentiments, you can create an entire collection of fun paperclip bookmarks for every occasion.
Download Your Sentiments for Free
Download a PDF of all of the cute, uplifting animal sayings. Just print, cut, and glue. It’s simple!