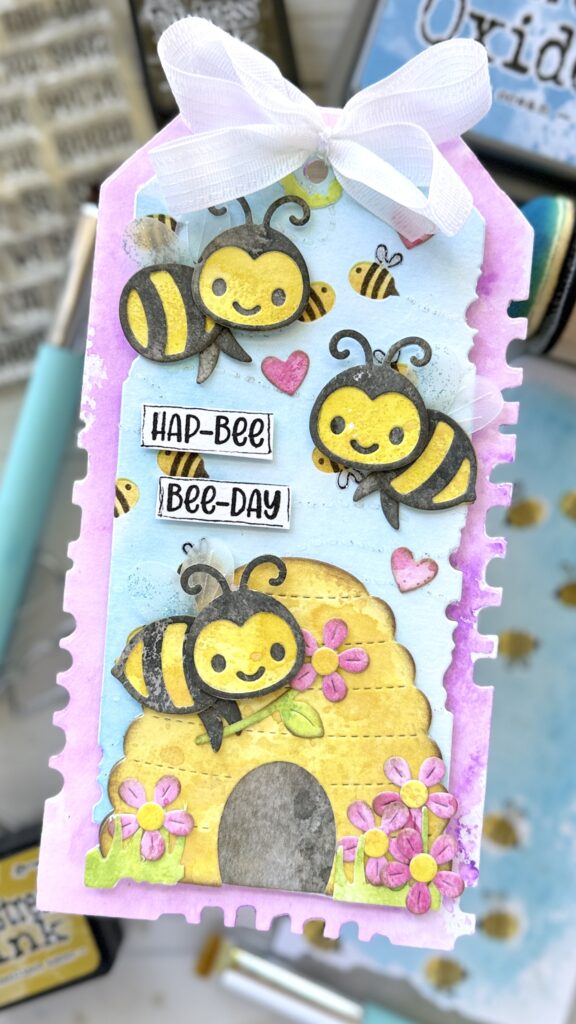
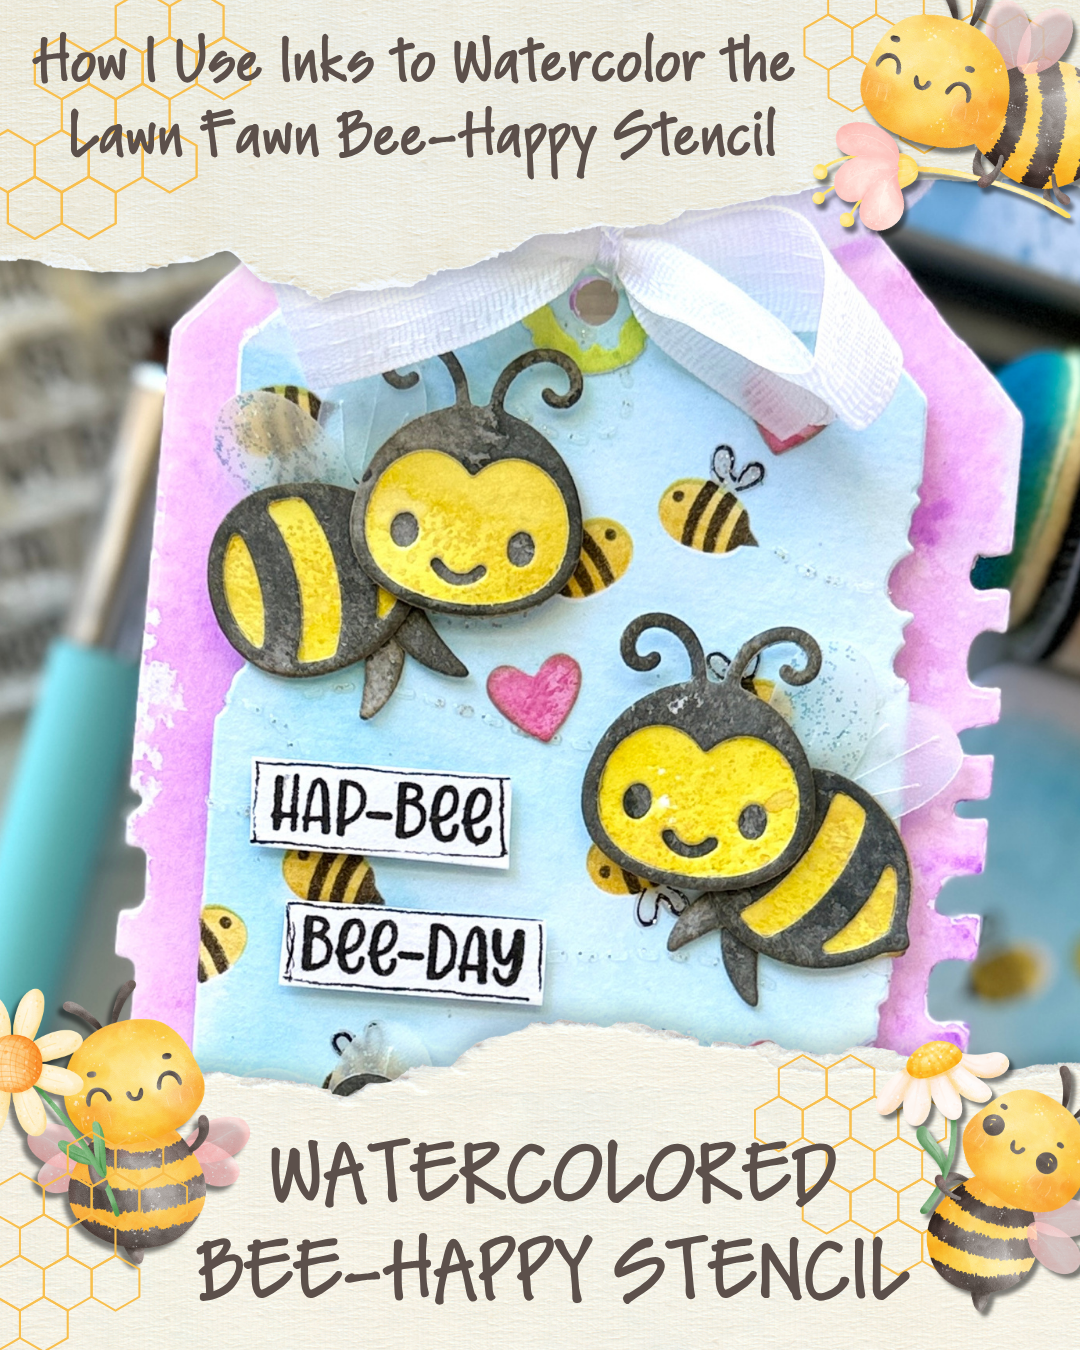
Want to create a soft watercolor background without using watercolor paints? This fun ink-smushing technique transforms the Lawn Fawn Bee Happy Stencil into a beautiful layered design with floating bees, sparkle, and plenty of dimension. By applying ink directly to the stencil, you’ll create a unique watercolor effect that makes every project one of a kind.
Supplies You’ll Need:
- Lawn Fawn Bee Happy Layered Stencil
- Watercolor cardstock
- Distress Oxide Ink (Salty Ocean)
- Distress Ink (Fossilized Amber & Scorched Timber)
- Foam blending tools
- Distress Sprayer or spray bottle
- Fine-tip black pen (Micron recommended)
- Ranger Distress Sparkle Texture Paste
- Palette knife
- Stencil magnets or low-tack tapeL
- Lawn Fawn coordinating stamps and dies for embellishing
Step 1: Apply Ink to the Stencil
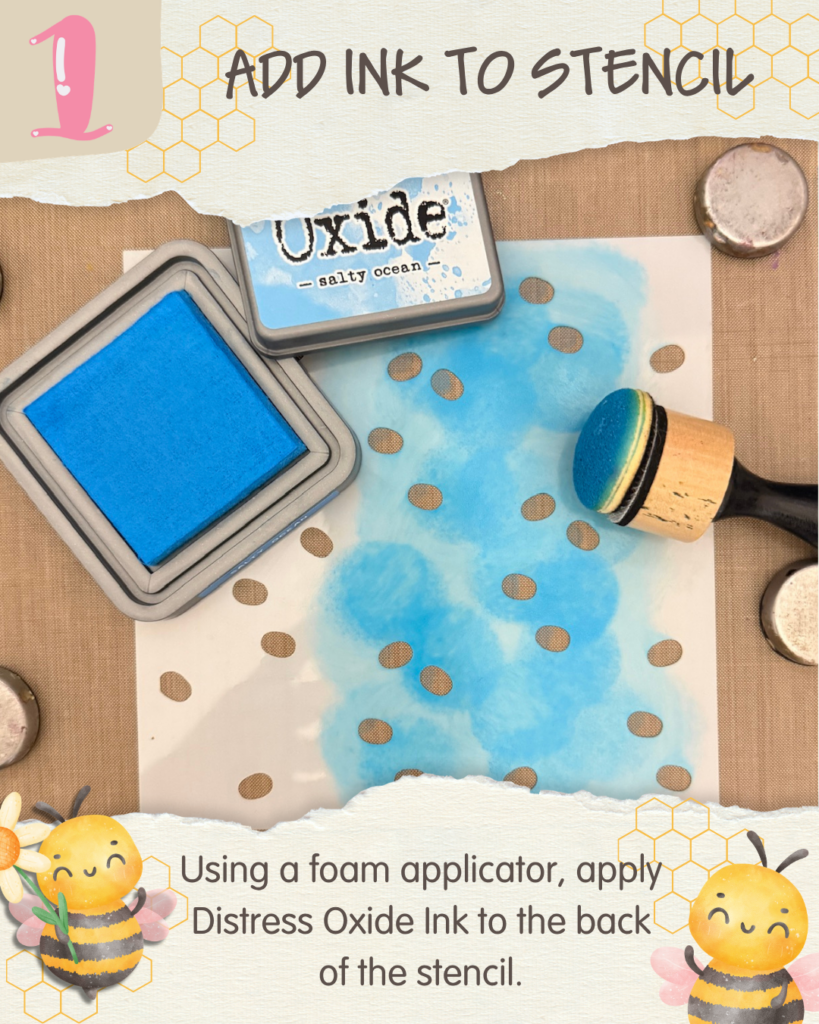
Place the stencil on your work surface with the back side facing up.
Using a foam blending tool, apply Salty Ocean Distress Oxide Ink directly onto the back of the stencil, covering the areas where you’d like the watercolor background to appear.
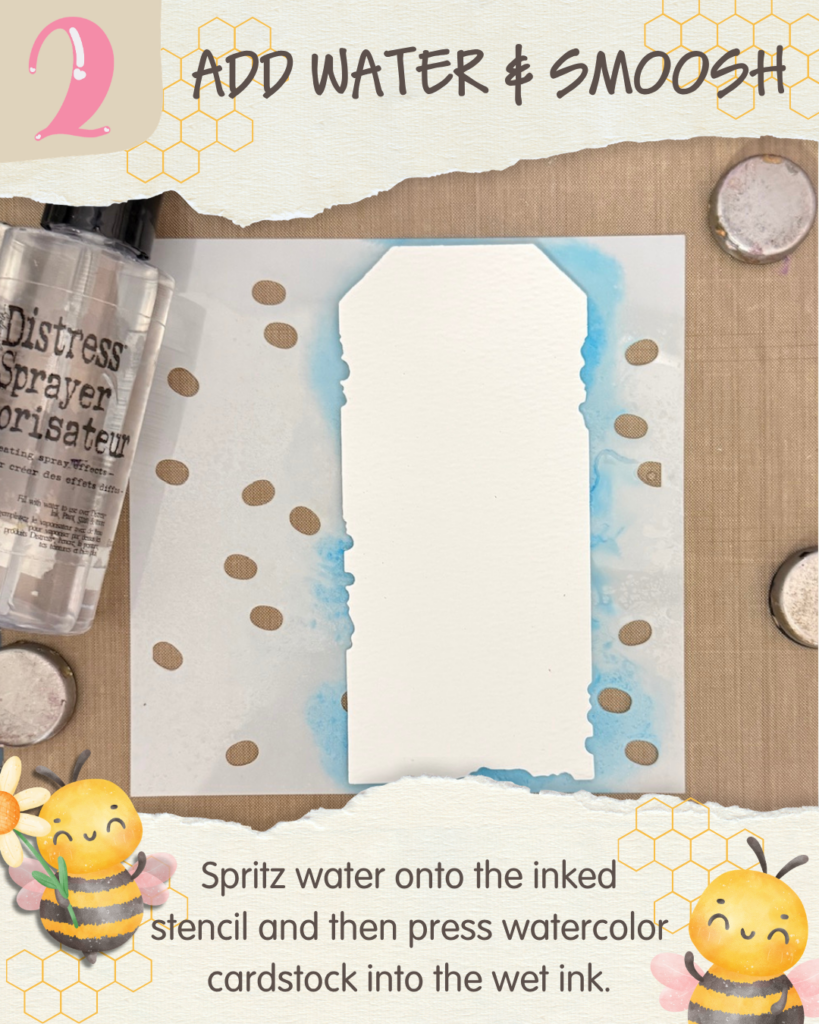
Step 2: Create the Watercolor Background
Lightly spritz the inked stencil with water until the ink begins to bead and soften.
Press a piece of watercolor cardstock firmly onto the wet stencil, allowing the ink to transfer to the paper. Carefully lift the cardstock to reveal a soft watercolor wash.
Allow the background to dry before moving on, or speed up the process with a heat tool.
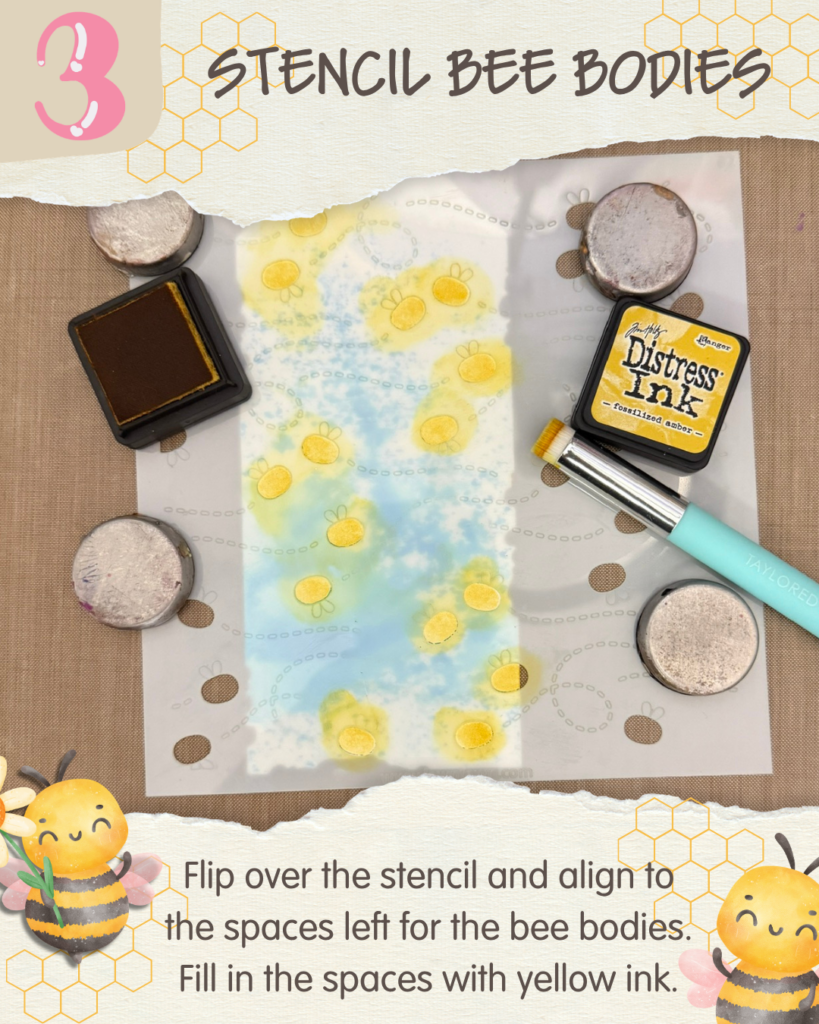
Step 3: Add the Bee Bodies
Once the watercolor background is dry, flip the stencil over and align it using the registration marks.
Blend Fossilized Amber Distress Ink into the openings for the bee bodies, creating bright yellow bees scattered across the background.
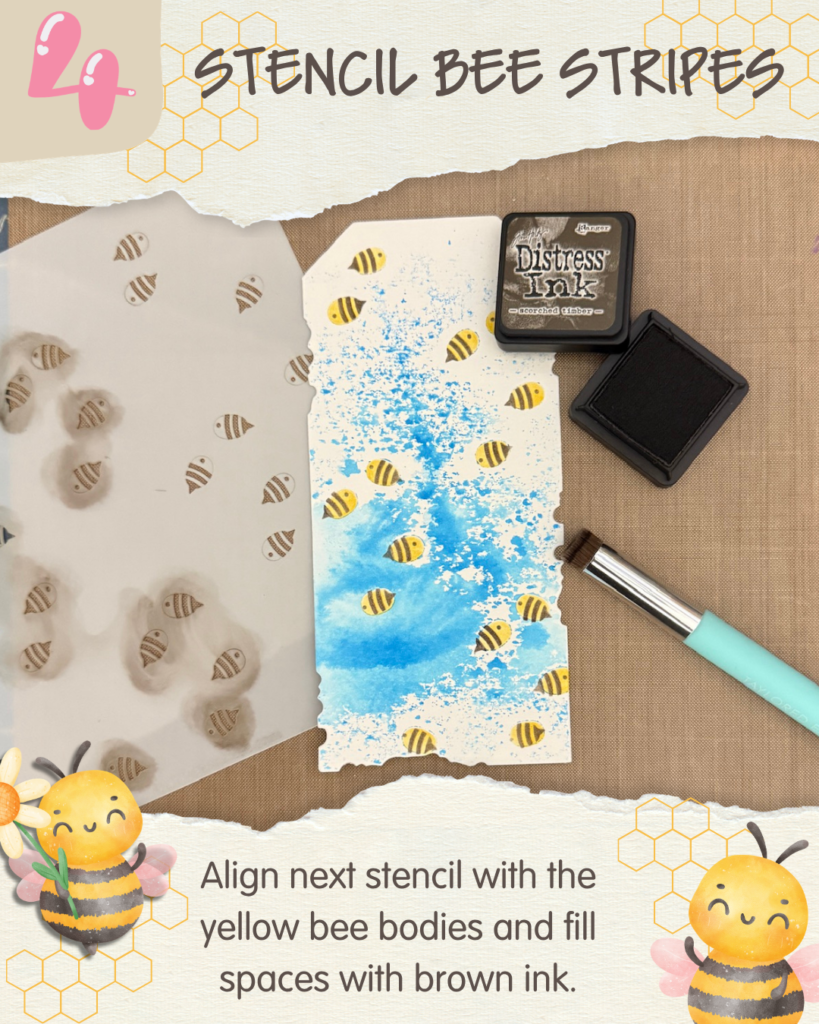
Step 4: Add the Bee Stripes
Align the next stencil layer with the yellow bee bodies.
Using Scorched Timber Distress Ink, blend over the stencil openings to create the bees’ stripes and details.
The layered stencils make alignment simple and produce crisp, adorable bees.
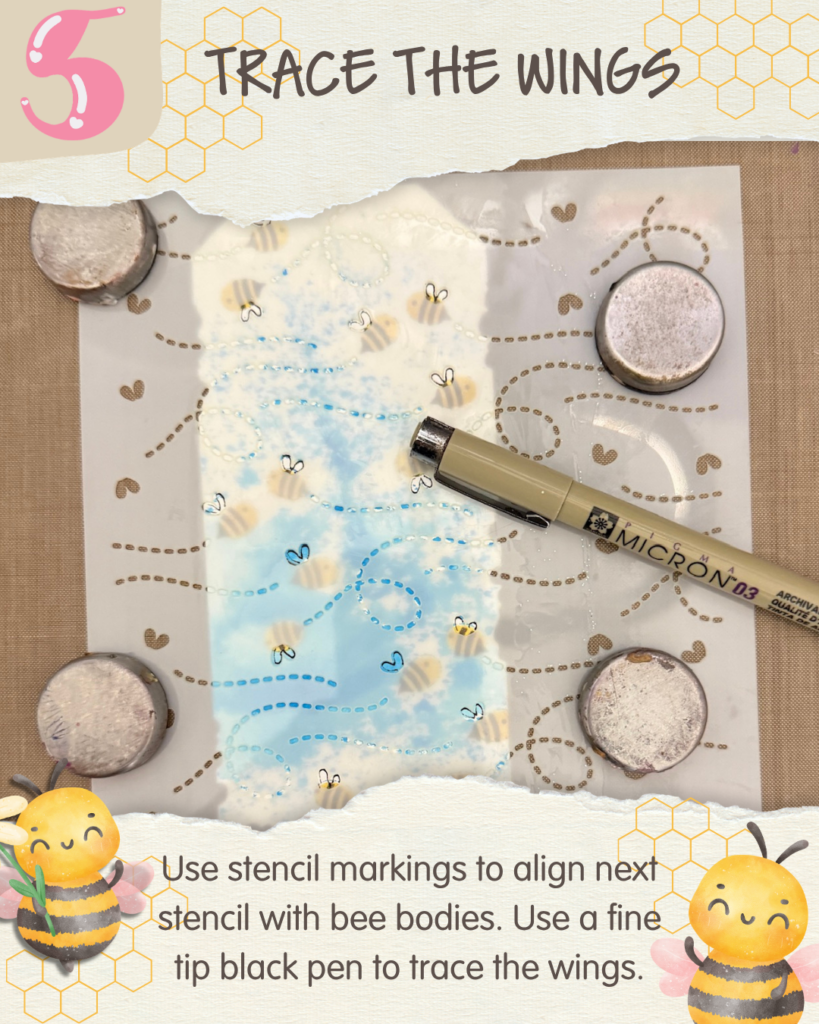
Step 5: Trace the Wings
Position the final stencil layer using the alignment guides.
Rather than applying ink, use a fine-tip black pen to carefully trace the bee wings through the stencil openings. This creates delicate, hand-drawn details without adding bulk.
Step 6: Add Sparkle & Texture
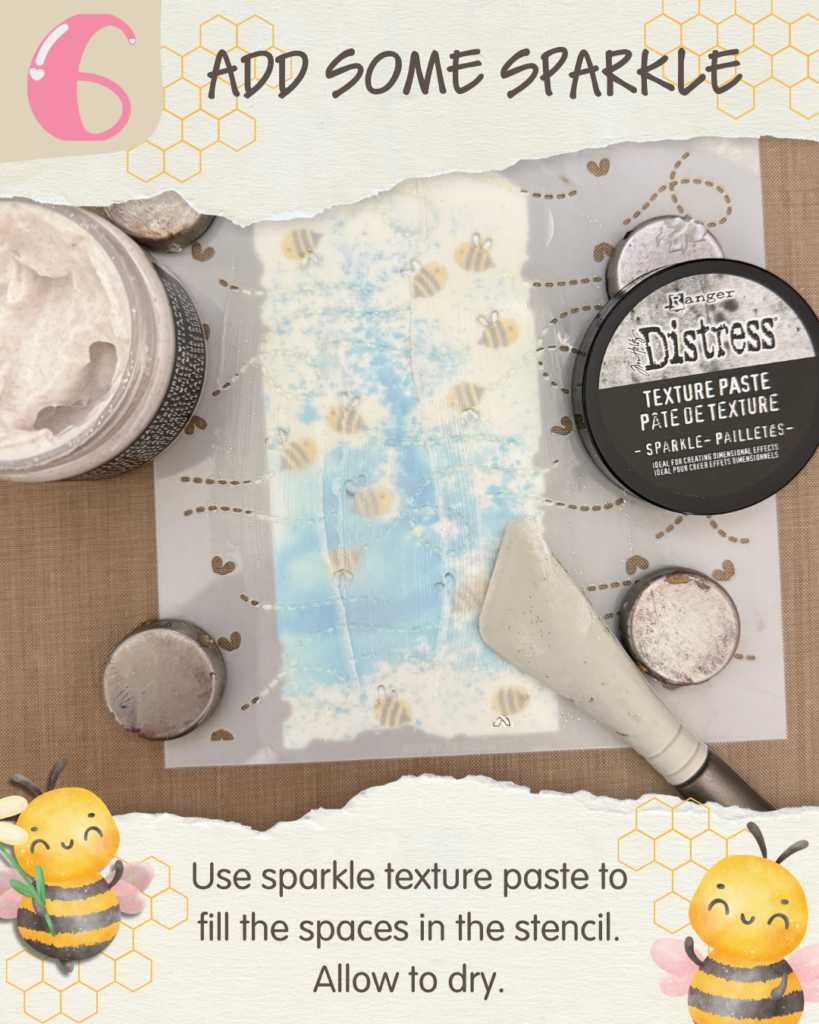
For extra shimmer and dimension, spread Ranger Distress Sparkle Texture Paste over the stencil using a palette knife.
Apply a thin, even layer, then carefully remove the stencil.
Allow the texture paste to dry completely before handling your project.
Step 7: Reveal the Finished Background
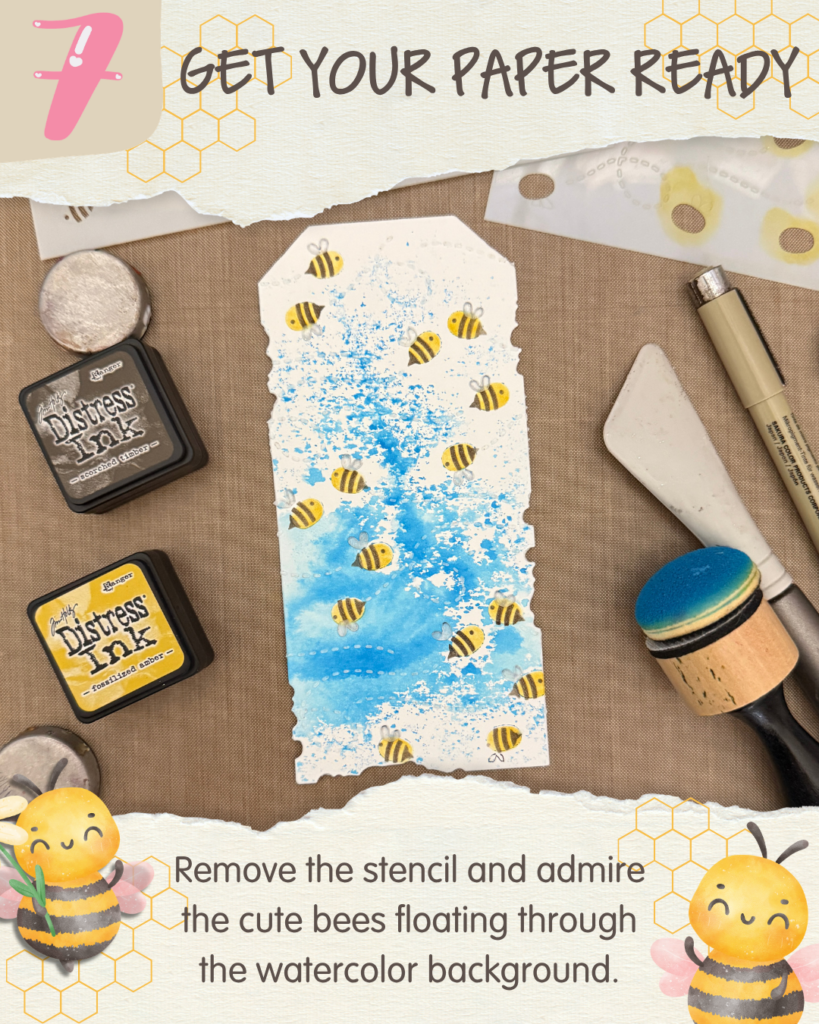
Once everything is dry, remove the stencil and admire the finished design.
The result is a whimsical watercolor background filled with floating bees, soft blended color, and sparkling texture that catches the light beautifully.
Step 8: Decorate Your Project
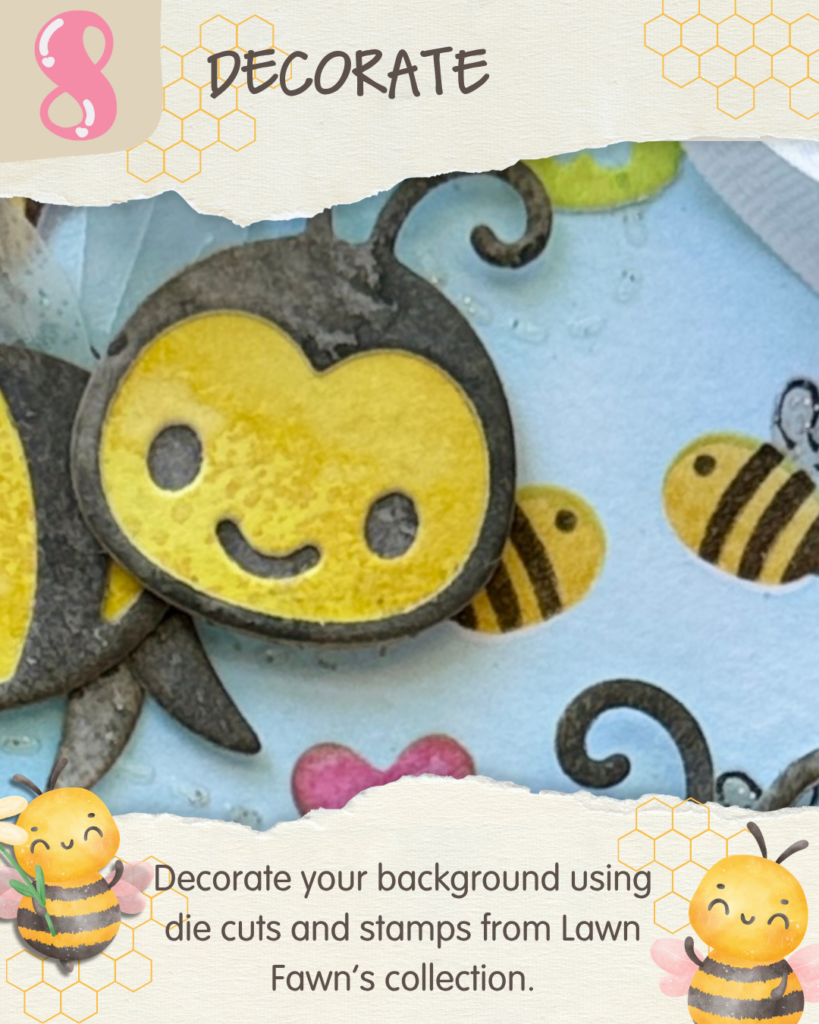
Complete your design by adding coordinating Lawn Fawn stamps and die cuts.
Pop up a few bees with foam adhesive for added dimension, stamp a fun sentiment, and finish with ribbon, embellishments, or your favorite finishing touches.
Finished Project
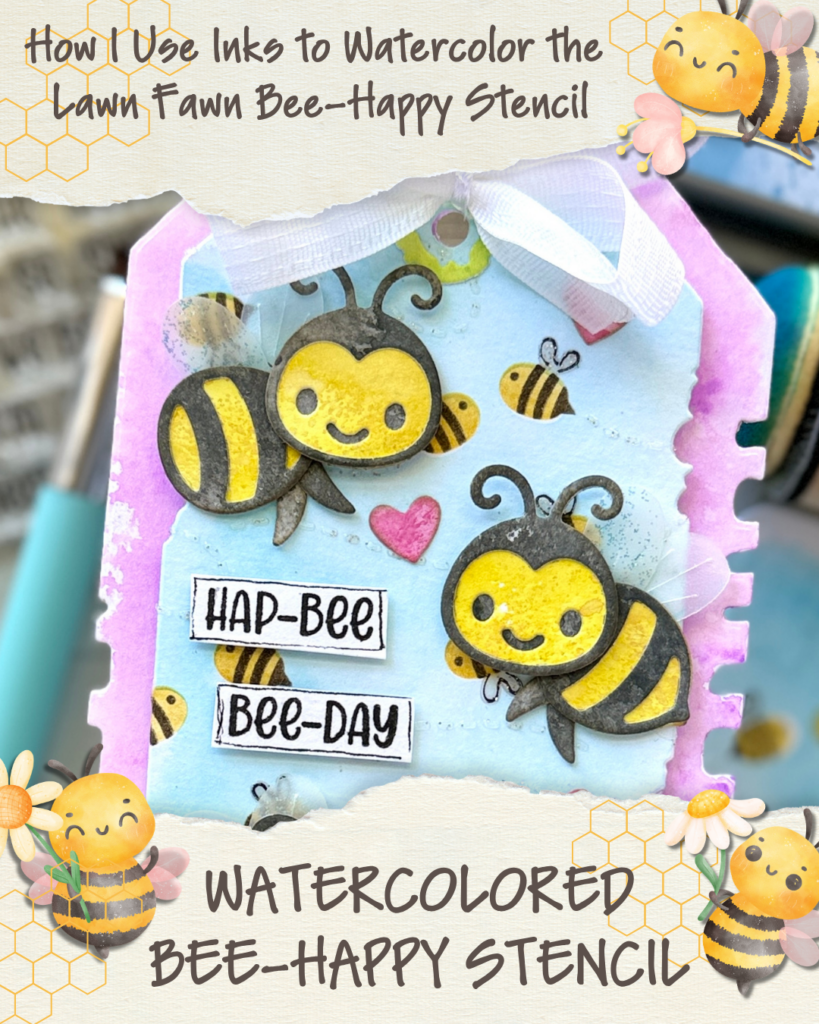
This watercolor stencil technique is a wonderful way to stretch your ink supplies while creating soft, artistic backgrounds with layered detail. Because each ink transfer is slightly different, every project has its own unique look.
Whether you’re making gift tags, greeting cards, scrapbook layouts, or journal pages, the Lawn Fawn Bee Happy Stencil makes it easy to create cheerful projects that are full of color, texture, and personality.