Technique: Ink Smooshing
Materials for this Technique
The key to this technique lies in choosing the right materials. Although a little bit of chemistry comes into play, don’t worry! I’ve taken much of the guesswork out of it. For this process, I always reach for my Ranger Ink products as you have a wide variety of formulations that work beautifully in many different ways. To get started, gather ink, a compatible solvent and paper that can hold up to wet techniques. Additionally, you will also need a non-porous surface like a glass mat or a media mat.
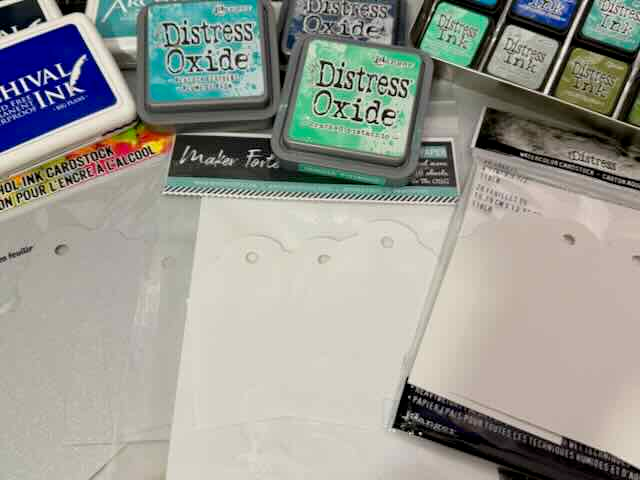
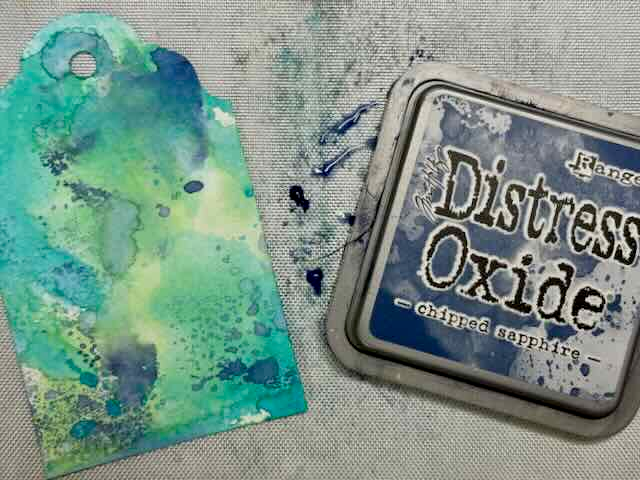
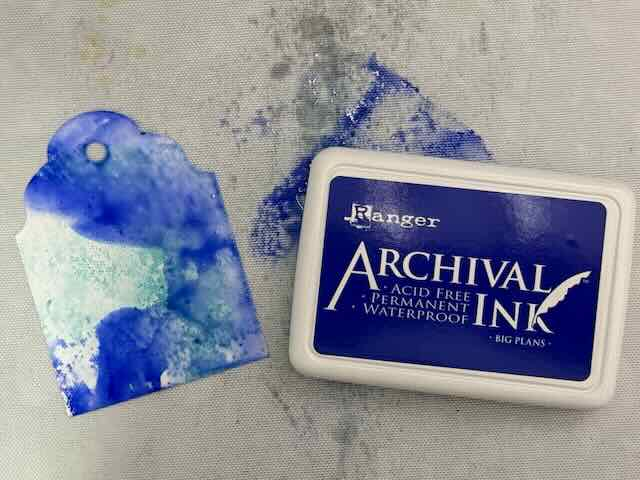
In this tutorial, I’ll walk you through three different combinations of inks, solvents, and papers to achieve different looks. First use Distress Ink, Water, and Distress Watercolor Cardstock. Next, try Distress Oxide, water, and Distress Watercolor Cardstock. Finally, experiment with Archival Ink, 91% Isopropyl Alcohol, and Alcohol Ink Paper (Ranger has different types of paper that can hold alcohol ink.) I chose similar colors from each line so you could easily see how each formulation gave a different effect.
The Process
No matter which combination you choose, you will follow the same basic process.
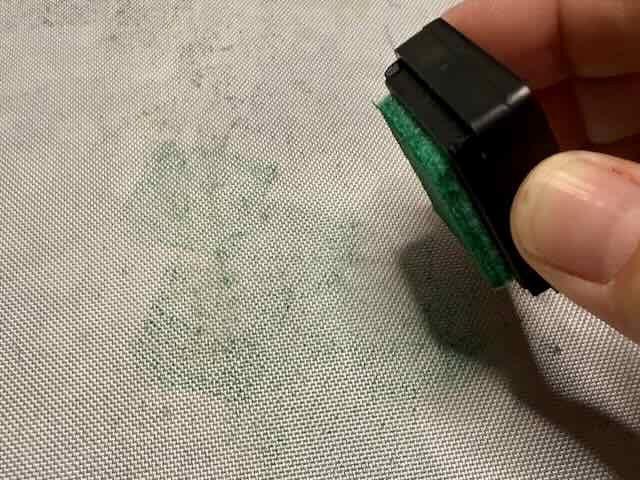

Step 1: Smear ink onto your non-porous surface. Adjust the amount based on the size of the paper you want to cover. I prefer to smoosh one ink color at a time because this helps me control the amount of each color and helps each color remain in tact.
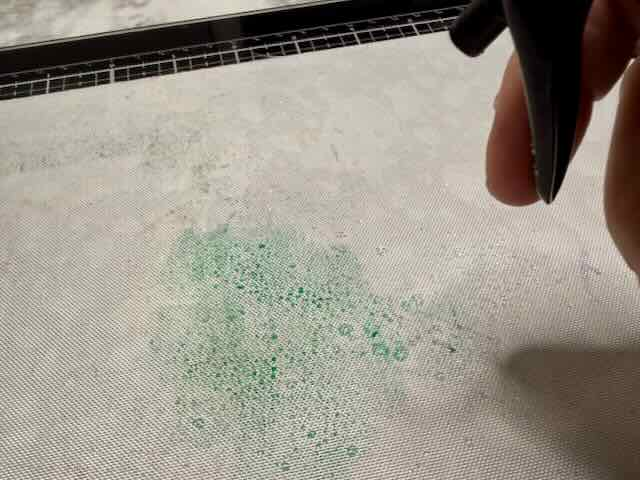
Step 2: Spray droplets of water (or alcohol if you’re using Archival Ink). The amount of liquid will affect the intensity of the ink. Less liquid will create more concentrated ink splotches while more water will create a soft, dreamy watercolor effect.
Step 3: Press the paper into the puddle of wet ink. Each time you lift and press the paper back down, you increase the abstract look of the design. If the ink is especially wet, it may flow and pool in different areas. You can lift some of the excess with a paper towel.
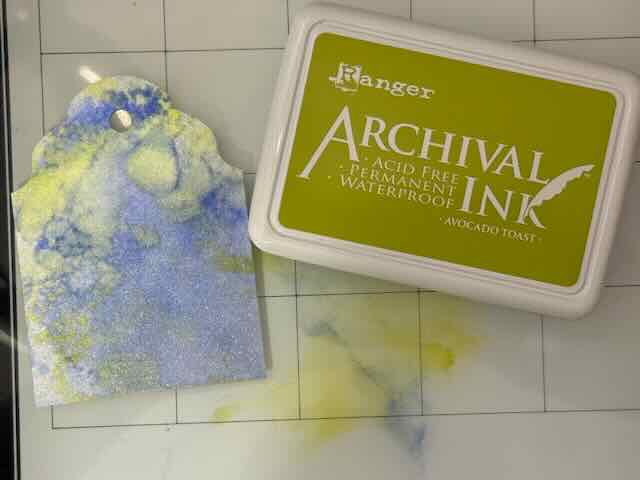
If you plan to use multiple colors, be sure to the paper is complete dry in between each layer. For the Distress Ink & Oxide, start with the lightest color and work your way to the darkest. With the Archival Ink, begin with the darkest color and layer towards the lightest.
The Results
Each combination of ink, solvent, and paper produced a different effect. Your preference may shift depending on how you plan to use the finished background.
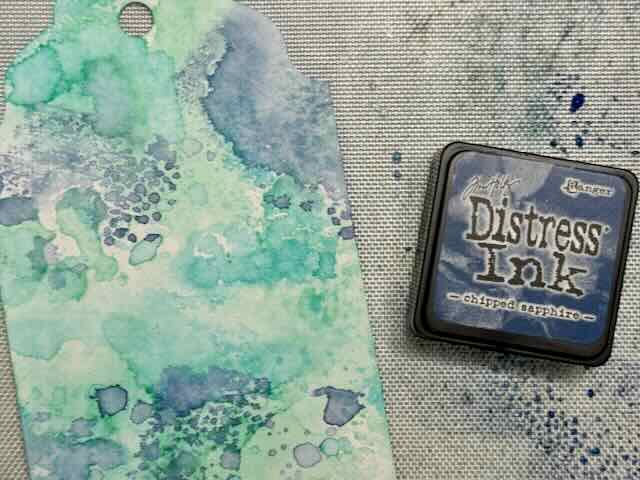
Distress Ink produces a light, transparent, watercolor effect.
Distress Oxide delivers an opaque, chalky appearance with brighter more vibrant colors.
Archival ink creates a bold, intense appearance. The alcohol evaporates much quicker so you must work faster which can make this process feel a little more finicky.
Tips for Using Archival Ink
This process was a little trickier because the alcohol evaporates very quickly. If this happens, simply spray a little more alcohol onto your work surface or directly onto the paper. When switching to another color allow your paper to fully dry. This isn’t really an issue since the alcohol evaporates quickly. Avoid using a heat tool as this can cause the alcohol ink paper to crack.
Take time to experiment with different ink and paper. Some inks are very bold and will take over the entire page while others are muted and are barely noticeable. For example, alcohol ink looks vibrant on the Yupo paper (left) but appears muted on the metallic cardstock (right). Testing different ink and paper will help you discover your favorite combinations.
It’s Your Turn
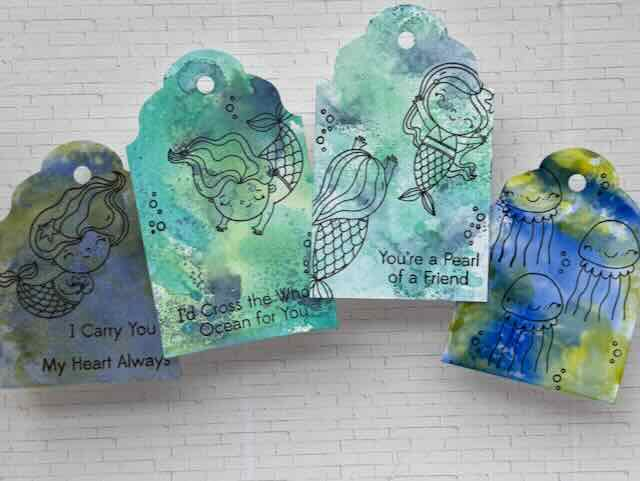
Experiment with this process using any inks you may have in your stash. Just make sure you use a solvent that is compatible with your ink. Water-based inks require water spray, while alcohol-based inks need alcohol spray. Most inks are water-based; however if it is labeled as “permanent” or “hybrid” it will not mix with water. Try mixing different color combinations and create several backgrounds in one sitting to use in later card making projects. My backgrounds reminded me of ocean water so I pulled out these mermaid stamps (My Favorite Things) from my stash and completed some very simple, whimsical gift tags.
