
Using Stampers Anonymous Blueprint Sketch Stamps
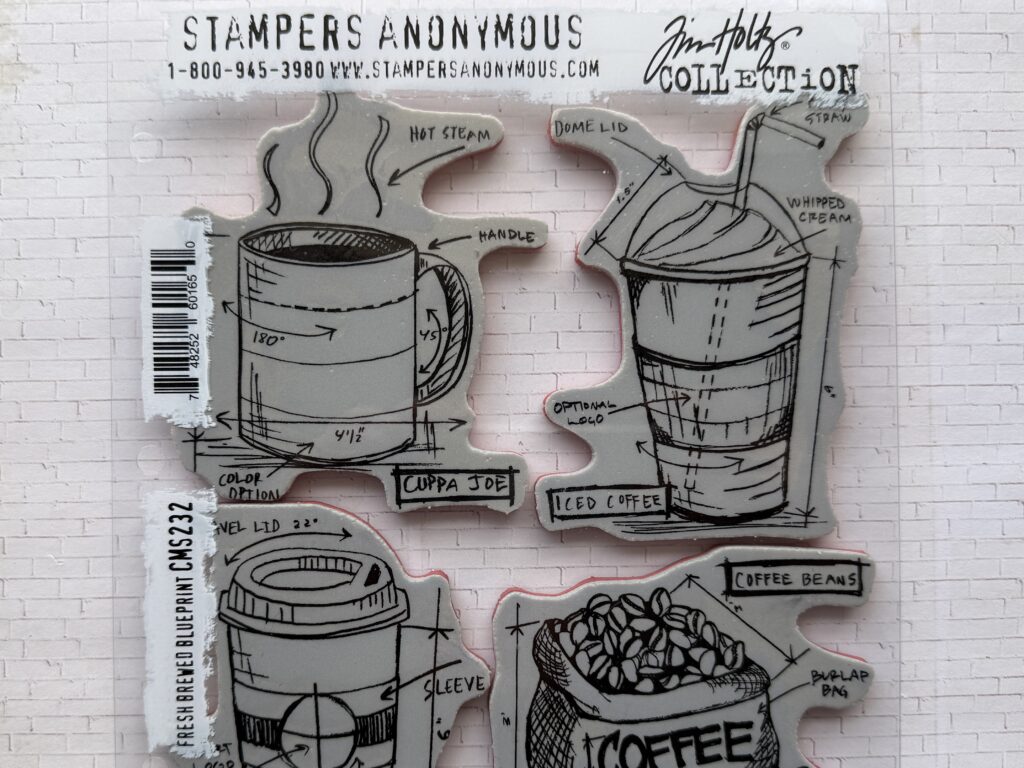
I have always loved the look of Stampers Anonymous Blueprint Sketch stamps, but I’ll admit, they’ve intimidated me a little. They aren’t a typical stamp and die cut situation because of all the fun sketchy details around the main image. The main image has a lot of real estate for coloring techniques, but other than stamping, coloring, and slapping on a card base, what do you do with them?
Taking a Multi-Layered Approach
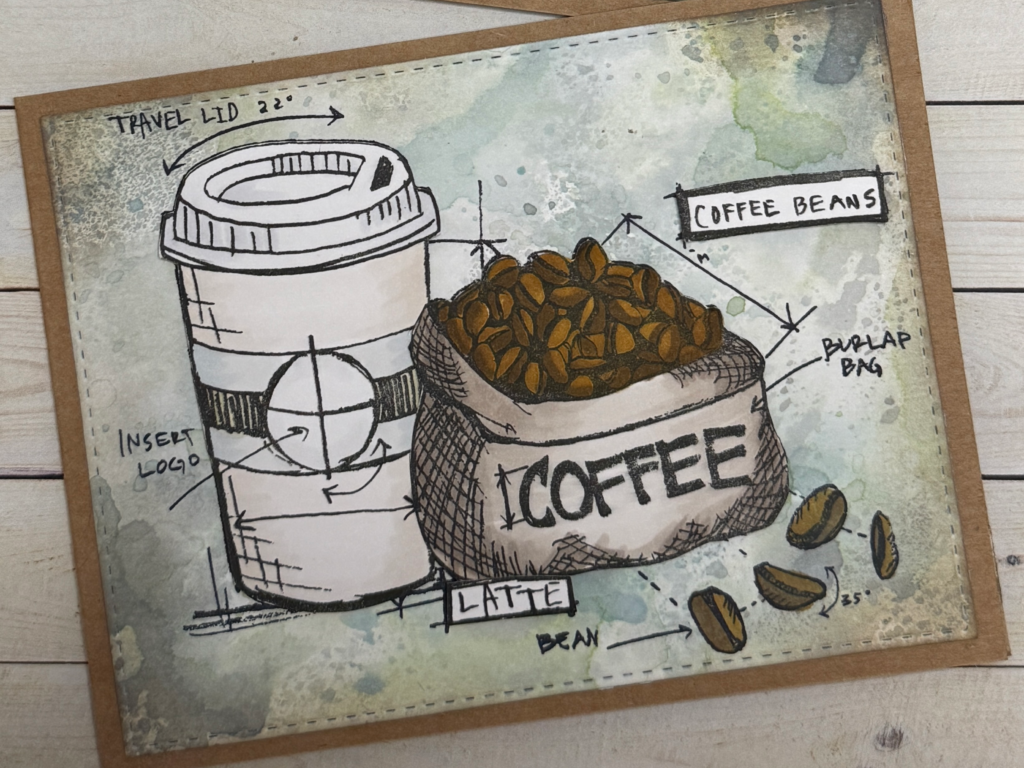
I decided to try a multi-layered approach. Instead of stamping once, I built up the design by stamping images in the background, then cutting out a second set to pop up on top. This way I can create a fun detailed background, keep all those sketchy lines we love, and still give the main image the attention it deserves when coloring.
Building the Background Layer
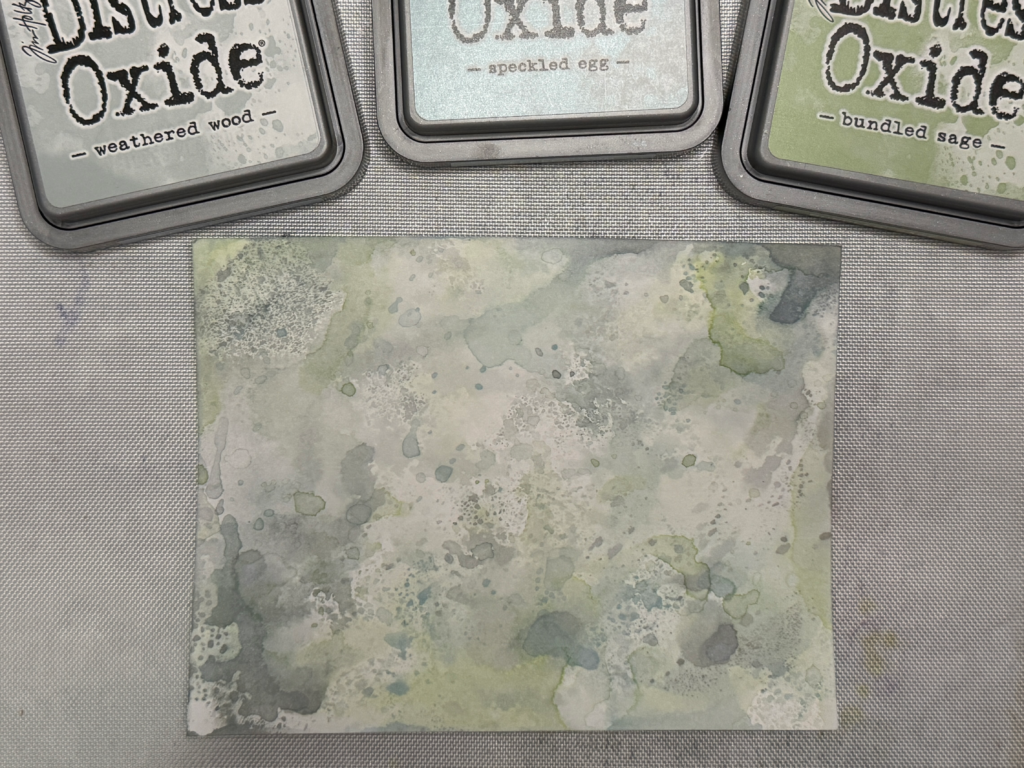
I started by building the background with a fun ink smooshing technique. I used Weathered Wood, Speckled Egg, and Bundled Sage Distress Oxide Inks. The pigment formulation gives that opaque, chalky coverage – Perfect for backgrounds.
Ink smooshing is a simple process. Start by rubbing some ink onto a non-porous surface, spritz with water and then press your paper into the wet medium. It is important to dry in between layers so you get crisp texture and recognizable color (full tutorial coming soon!).
Next, I stamped the images directly on the background panel with Ranger Black Archival Ink. Its waterproof properties will allow me to go back to edit with wet techniques without smearing the stamped image.
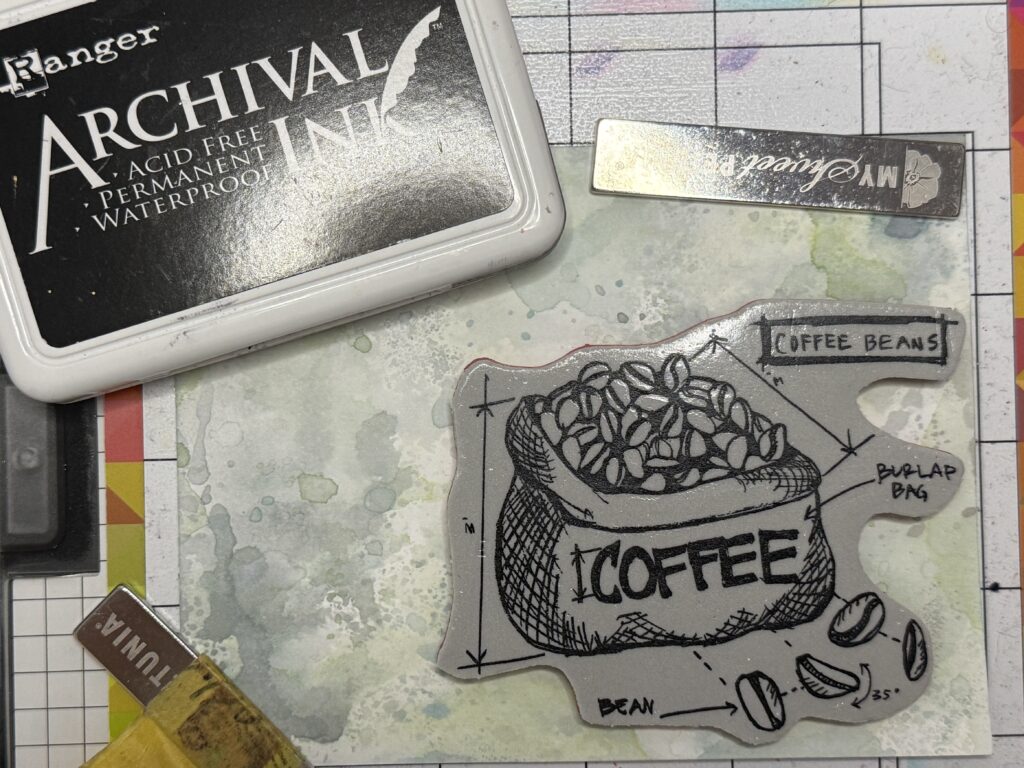
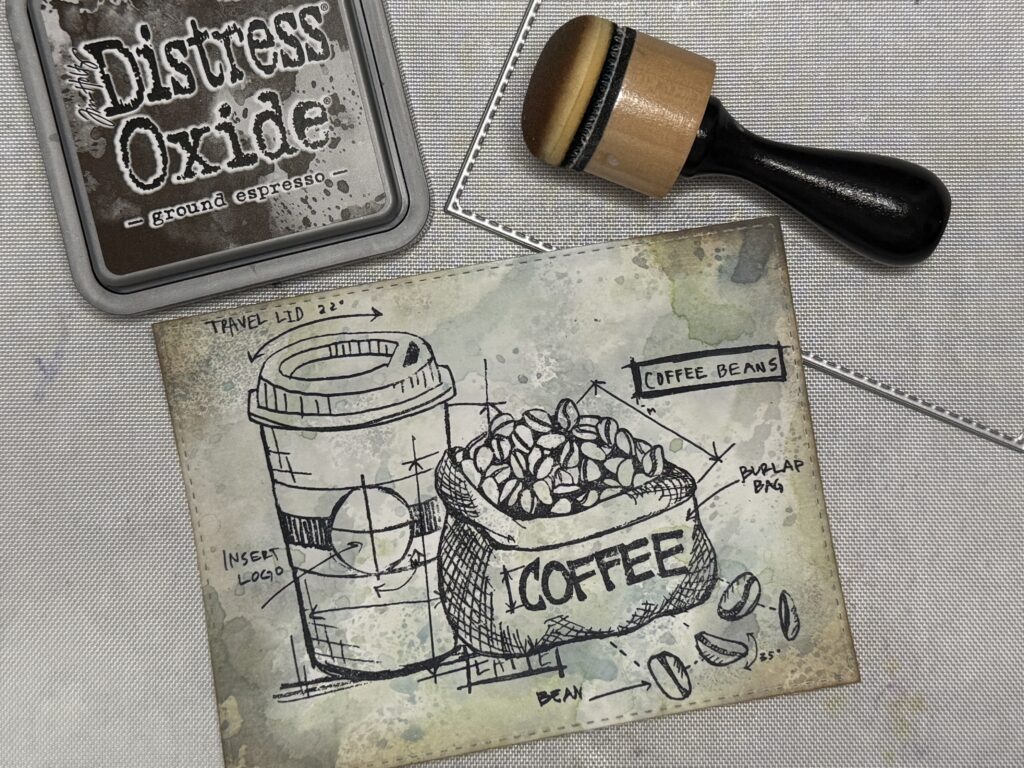
I die cut the panel with a stitched rectangle and brushed Ground Espresso Distress Oxide around the edges for a soft vignette that pulls your eye to the image at the center.
The Main Event
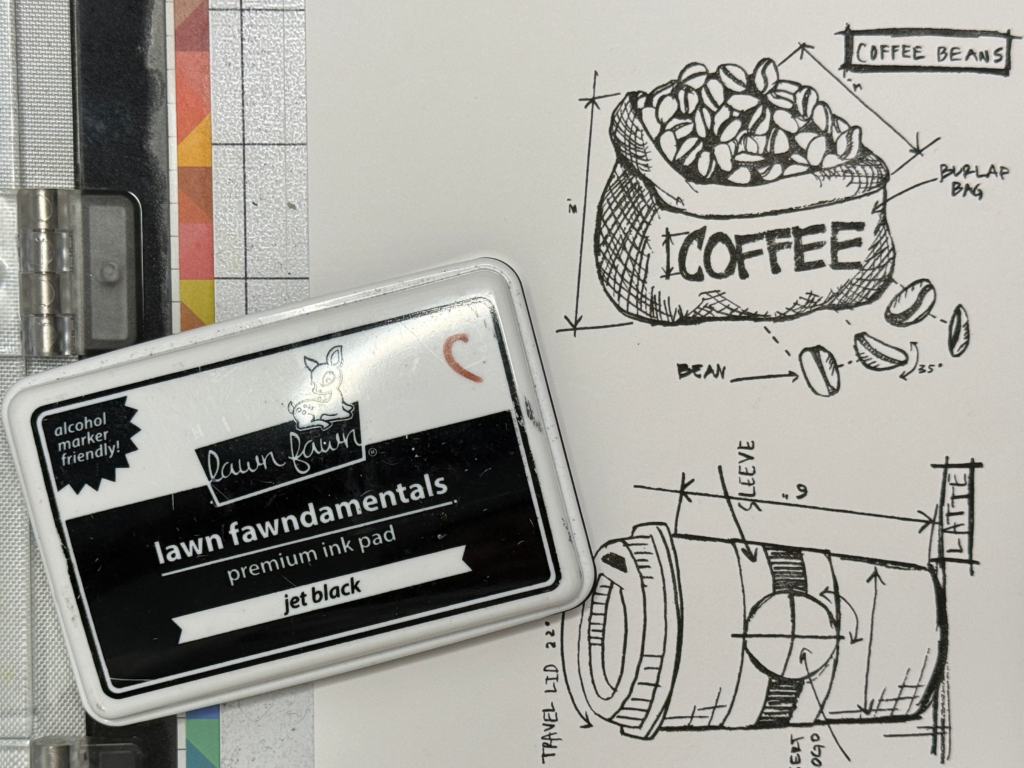
The, I stamped the same images onto Neenah Solar White Cardstock using Lawn Fawn Jet Black ink. This ink is an alcohol marker friendly formulation which is needed so the alcohol markers don’t dissolve and smear the stamp lines. (This is important!)
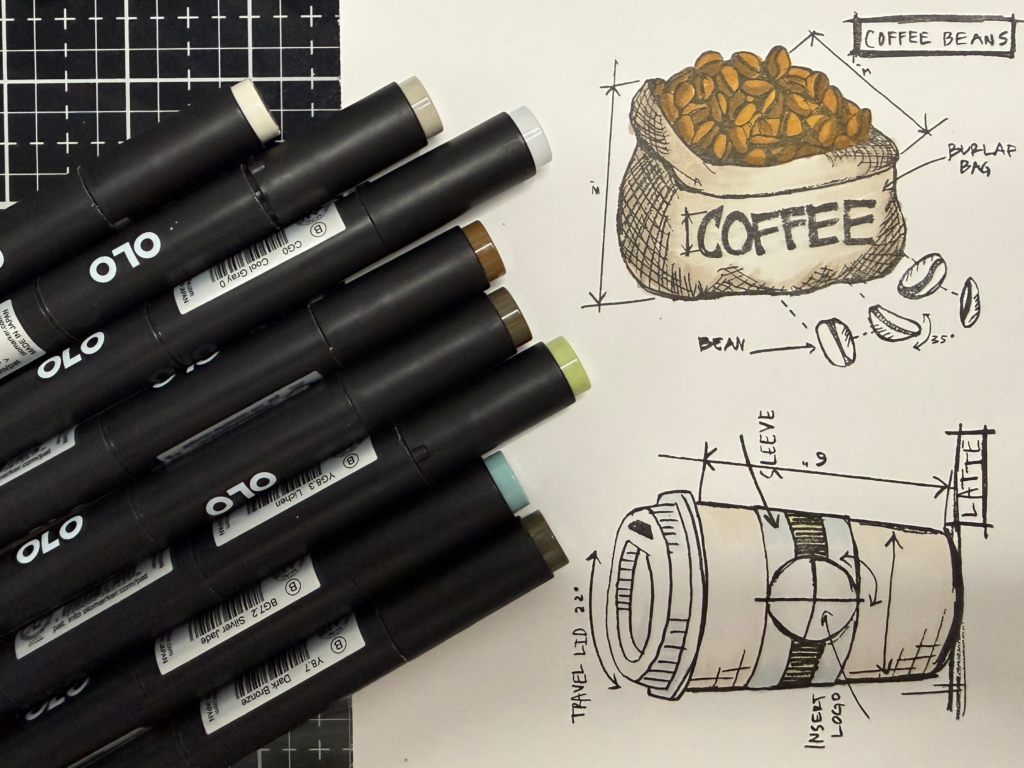
I colored the images using my OLO Markers. Here is the list of colors I used for each part of the image:
Burlap Bag – WG 1, WG 3 & WG 5
Coffee Beans – YO 2.7 & O 7.7
Coffee Cup – WG 0 & WG 1
Travel Lid – CG 0 & CG 1
Sleeve – YG 8.2, YG 8.3, BG 7.0 & BG 7.2
Logo – CG 0 & CG 1
Putting it All Together
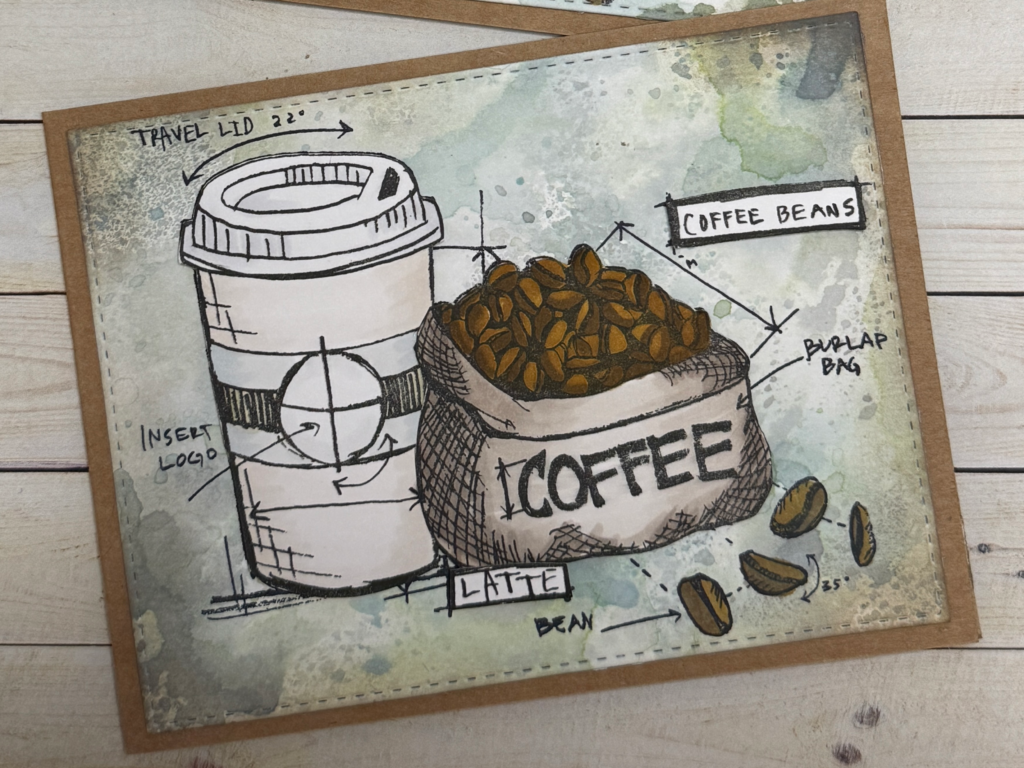
After coloring, I cut right up to the main image outline and discarded the extra sketching. The two images were popped up with foam squares right over the background stamping for subtle dimension. The finished panel was adhered right onto a Kraft A4 card base.
Would you try this layered look? What other fun ideas do you have for Blueprint Sketch Stamps?
Key Take-Aways for Blueprint Sketch Stamps
- Embrace the details. The magic of this design is the sketchy lines. Find a way to highlights those details.
- Think in layers. Layering keeps the blueprint feel while adding depth and dimension.
- Choose the right inks. Use waterproof ink if you are stamping on a layer with wet techniques and use alcohol-friendly ink for images you plan to color. The right ink makes all the difference.